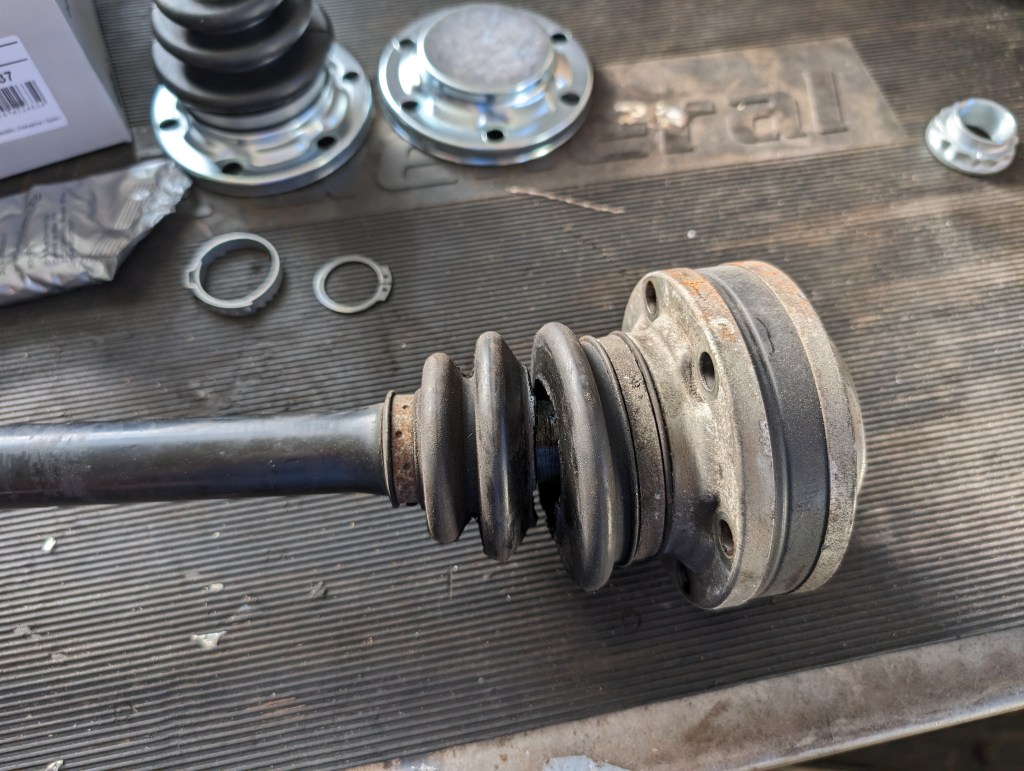
Another item I found during all my recent exhaust work as that my driver side rear axle inner CV boot was completely torn through one of the “valleys” of the boot. As I had no issues with noise or any other issues I decided to replace and repack the boot/CV bearing in lieu of full CV replacement.


While I was planning the inner CV boot R&R I found that to replace the outer boot, the job also has to remove the inner as interference. As such, and although it was still intact the condition of my outer was showing its age, I added an outer boot replacement to my plan. Since the age of all my boots are the same, I also went ahead and ordered my passenger side materials but a close inspection did not warrant the need at this time specifically and I can do it when things are less hectic.
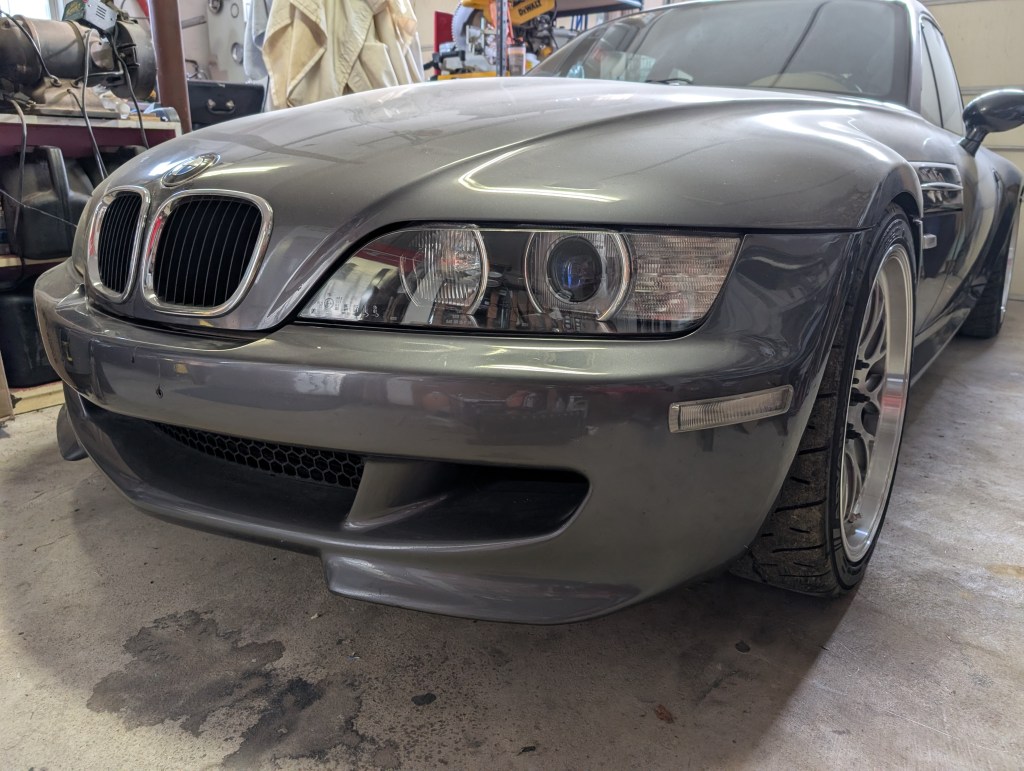
The following is written for an S52 Mcoupe, for other applications please verify parts and torques for other specific applications. The expectation is that if you’re tackling this as a DIY, you are capable of removing the axle from the car without also getting into those details.
Material: (BimmerBum Co.)
- Inner boot kit:
- OEM Part# 33217840673
- Aftermarket Manufacturer- GKN Part #- 302337
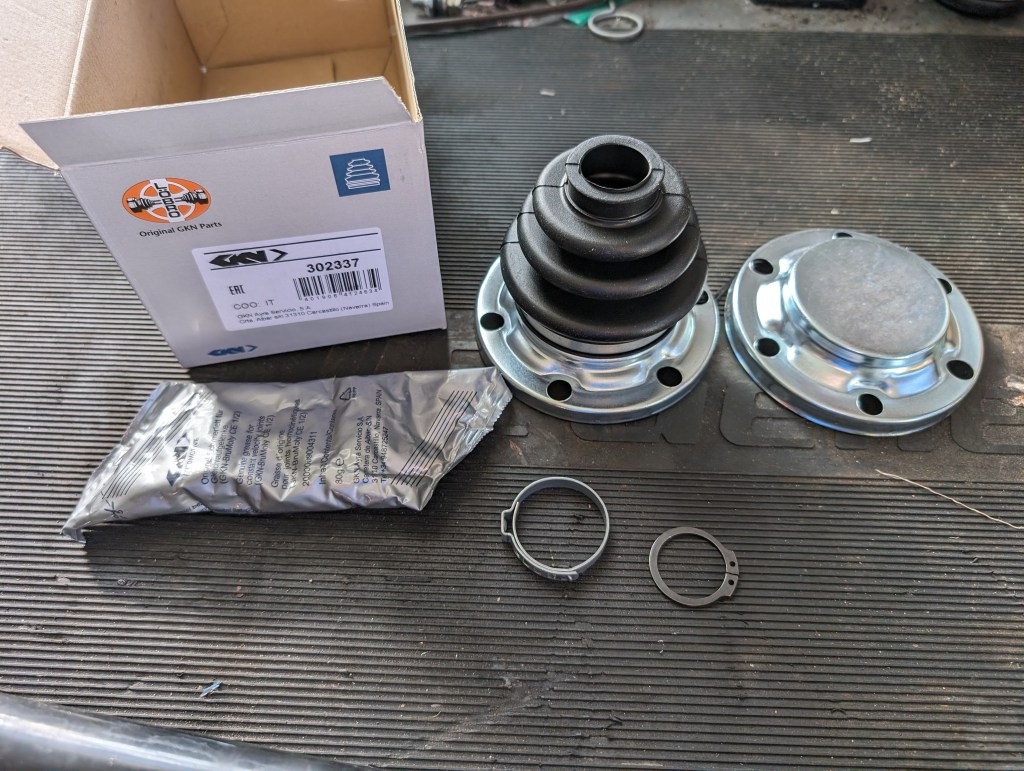
- Outer boot kit:
- OEM Part# 33219067806
- Aftermarket Manufacturer- Rein Part #- BKN0214

- Red loctite
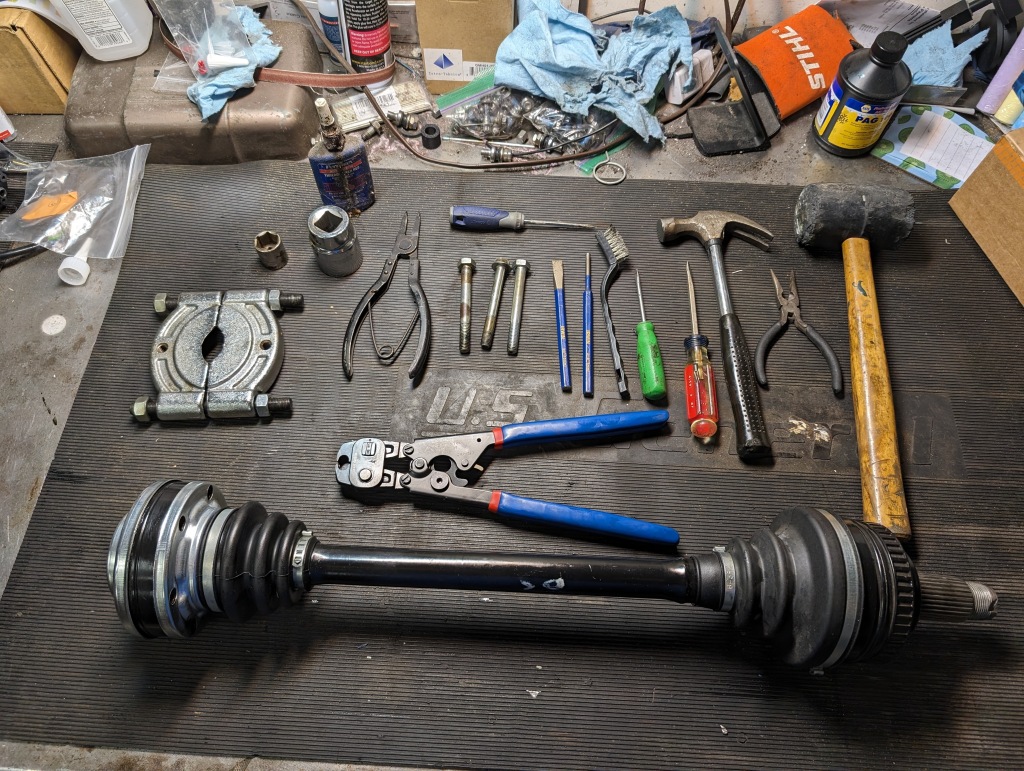
Tools:
- Small chisel
- Small punch
- Small hammer
- Rubber mallet
- Needle nose pliers
- Small & medium flat head screwdriver
- Wire brush
- Oetiker Pliers
- Straight pick
- Snap ring pliers (outer)
- 3 each M10 (long) bolts (inner boot covers hole alignment aid)
- Large bearing separator (contingent)
- 19mm (or equivalent size for press) socket (contingent)
- 1-¼” (or equivalent size for press) socket (contingent)
- Shop press (contingent)
Start by removing the inner CV covers from the outer race. These covers are just a press fit with the thin sheet stamped sheet metal over the edges of the race, a quick couple taps with a chisel and the small hammer removes them (yes the photo is a big hammer but that was unnecessary and I continued with the smaller one after the first cover). I highly suggest covering the work surface with sacrificial cardboard or other material as CV grease makes a complete mess.

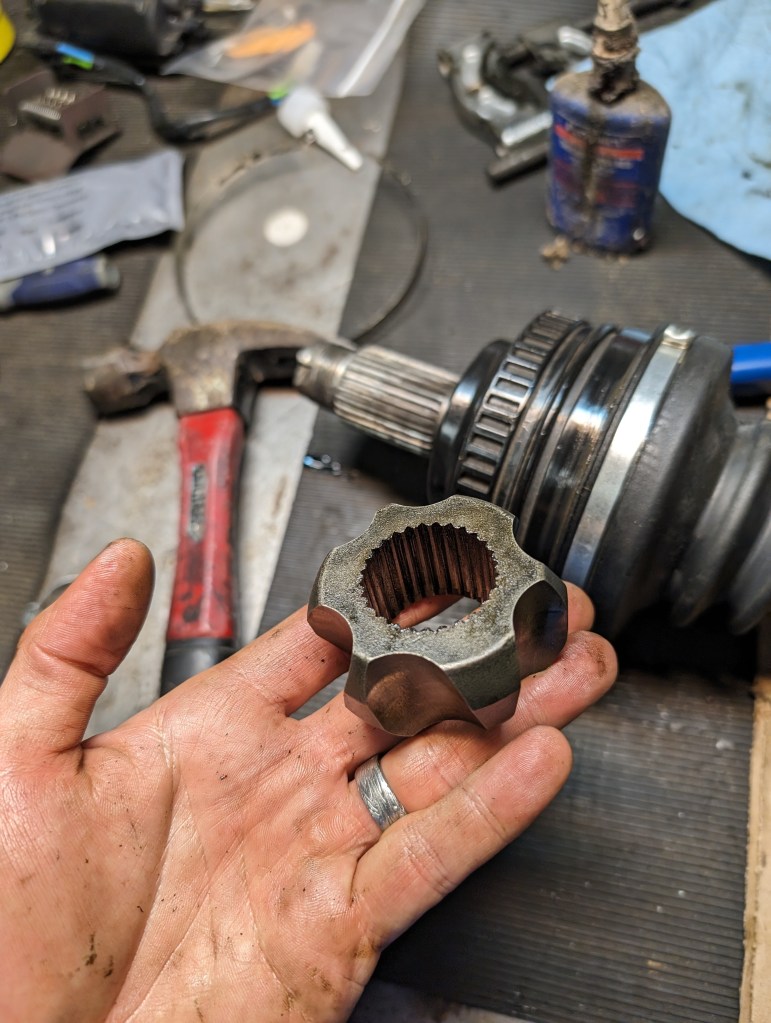
I decided to disassemble my ball bearings/cage and inner/outer race to lessen the chance of the CV coming apart accidentally and losing or damaging parts. Some of the other DIY content or reference manuals don’t require this but I wanted to inspect these contact surfaces for any excessive or abnormal wear since I had a completely torn boot.
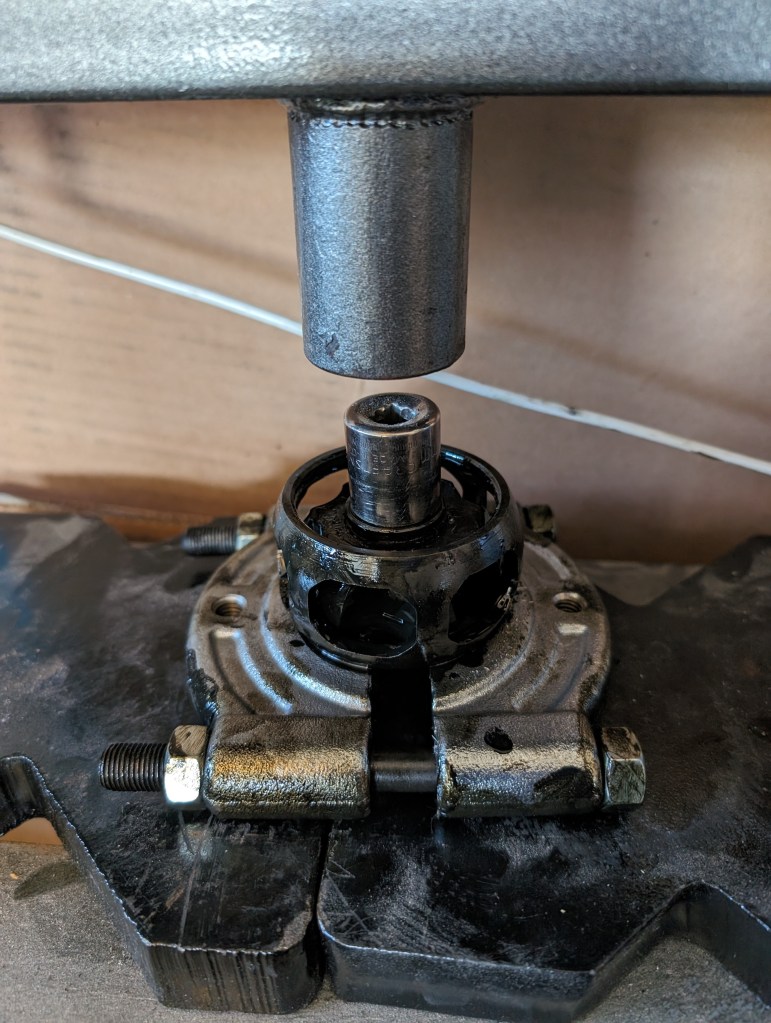
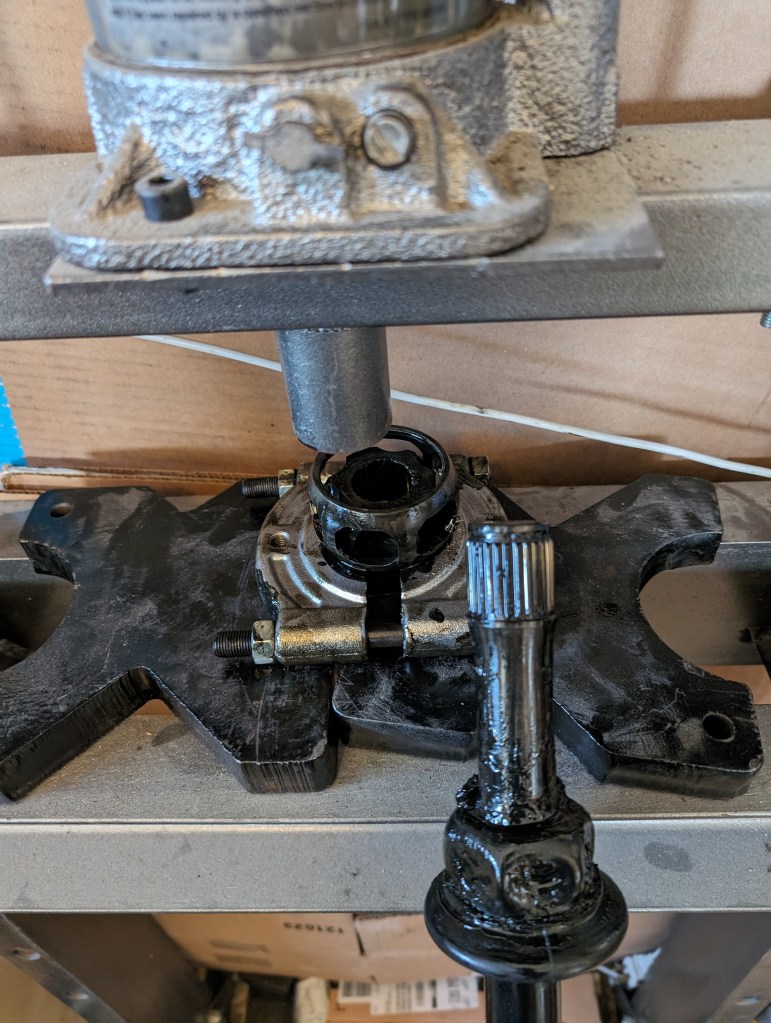
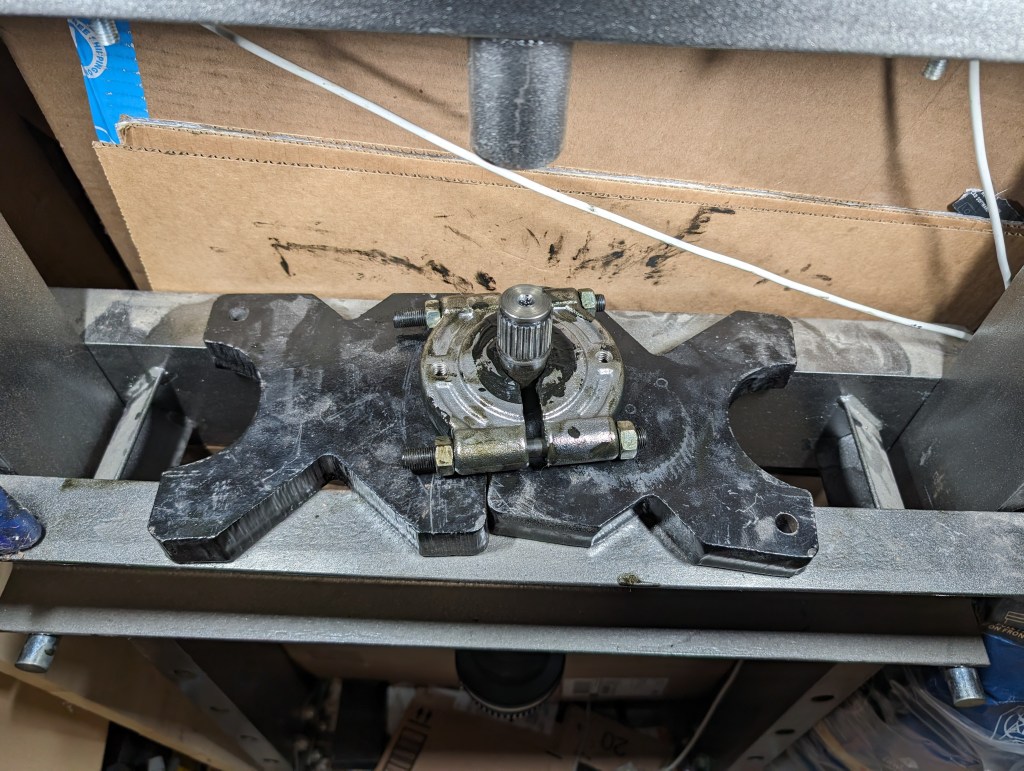
The inner race is slipped onto the axle on a splined connection and secured with a snap ring. Remove the snap ring to allow the inner race to slide off the splined joint. With my disassembly the inner race would not move freely with the snap ring removed and I secured the axles in a bearing splitter and used my press to separate the two parts. My standard 19mm socket was the correct size to slip through the inner race to remove the splined axle completely. I’ve had friends that did this similar job report that their inner race slid off by hand in place in the car.
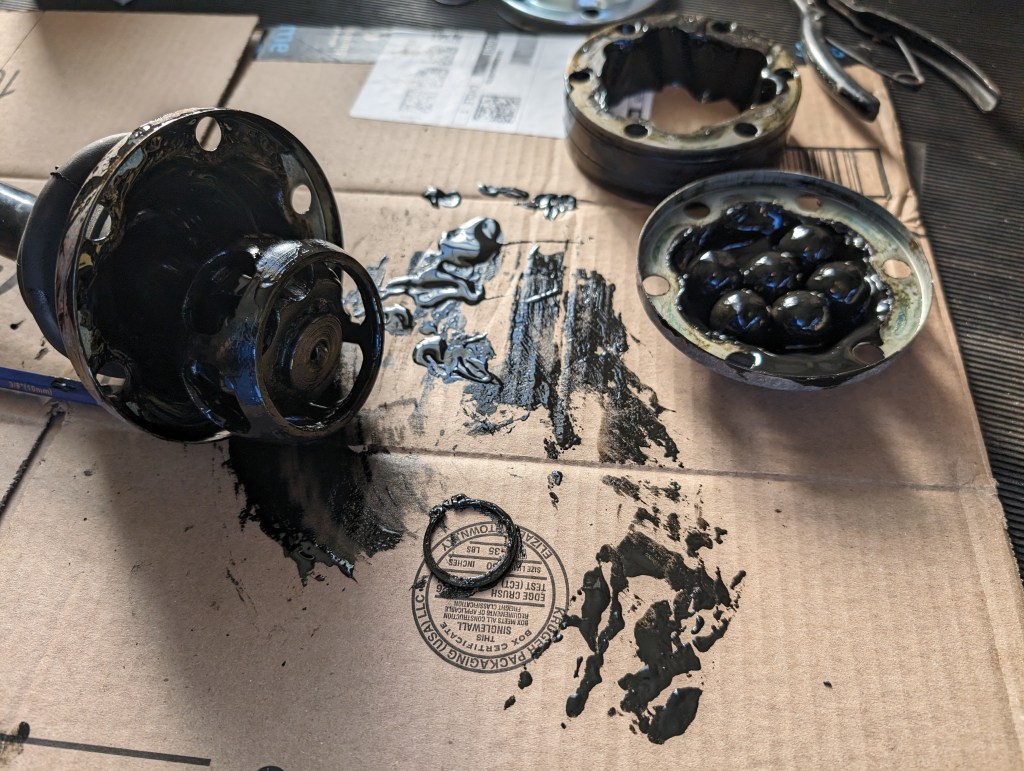


With the inner CV completely disassembled I cleaned all the parts and inspected for any abnormal wear. With none noted, I moved onto replacing the outer boot.

Remove the original Oetiker clamps using the Oetiker pliers to cut off the clamped section and remove the boot off the axle. I chose not to disassemble the outer CV for risk of damage to the parts and not having replacements, I removed as much of the existing grease as possible and repacked the joint. After exercising (burping the air out) and filling with the recommended 85 grams of grease I installed the new boot in reverse order. The new large Oetiker clamp was a bit of a challenge to get hooked into place and I found sliding it down my straight pick to get them in place was the best method. With both the large and small clamp on the outer CV in place, ensure the Oetiker pliers are set to the “clamp” setting vice the previous “cut” setting and secure the two new outer clamps in place.


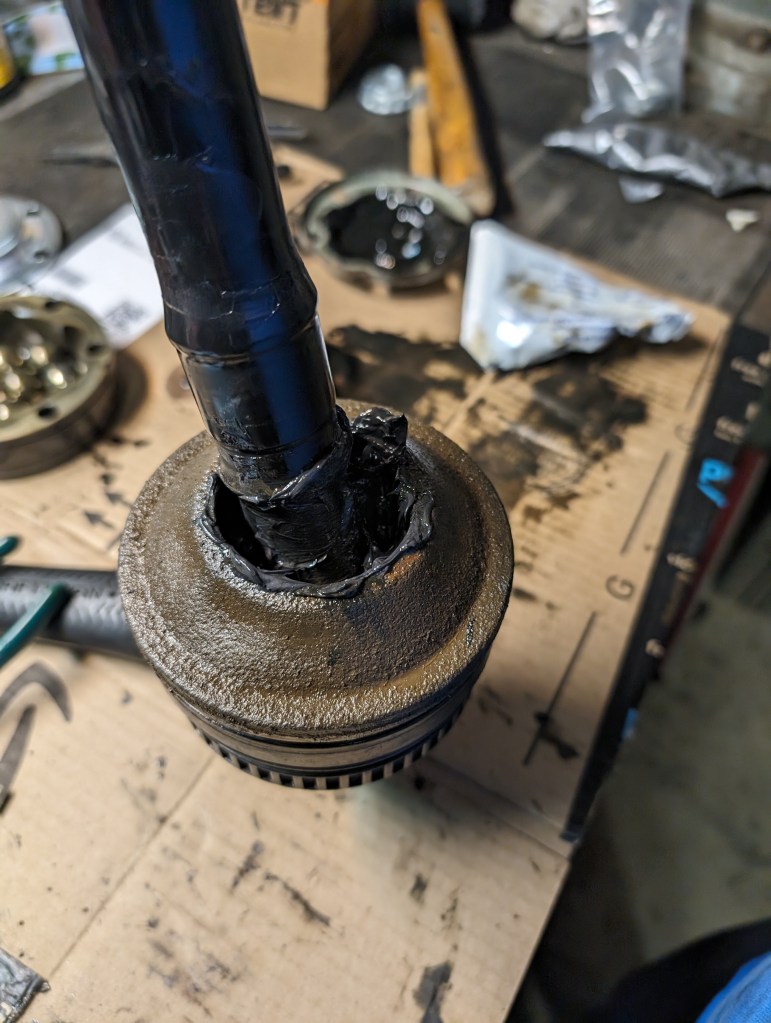
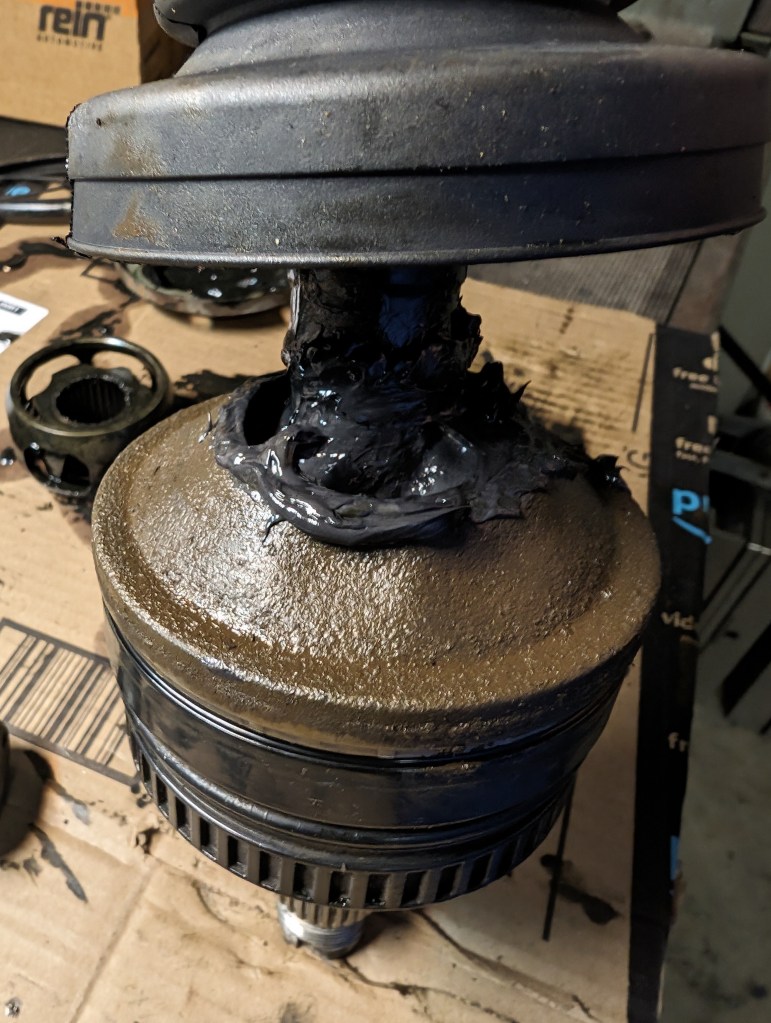


Back to the inner CV joint reassembly starts with the inner boot with integrated cover getting installed in the shaft. One of my references stated to secure the splined connection with 263 loctite, so I added a bit of red loctite to the spline surfaces for reassembly and pressed it back onto the axle and secured the new snap ring into place. NOTE: the inner race has a shoulder on one side that should be installed toward the axle shoulder.

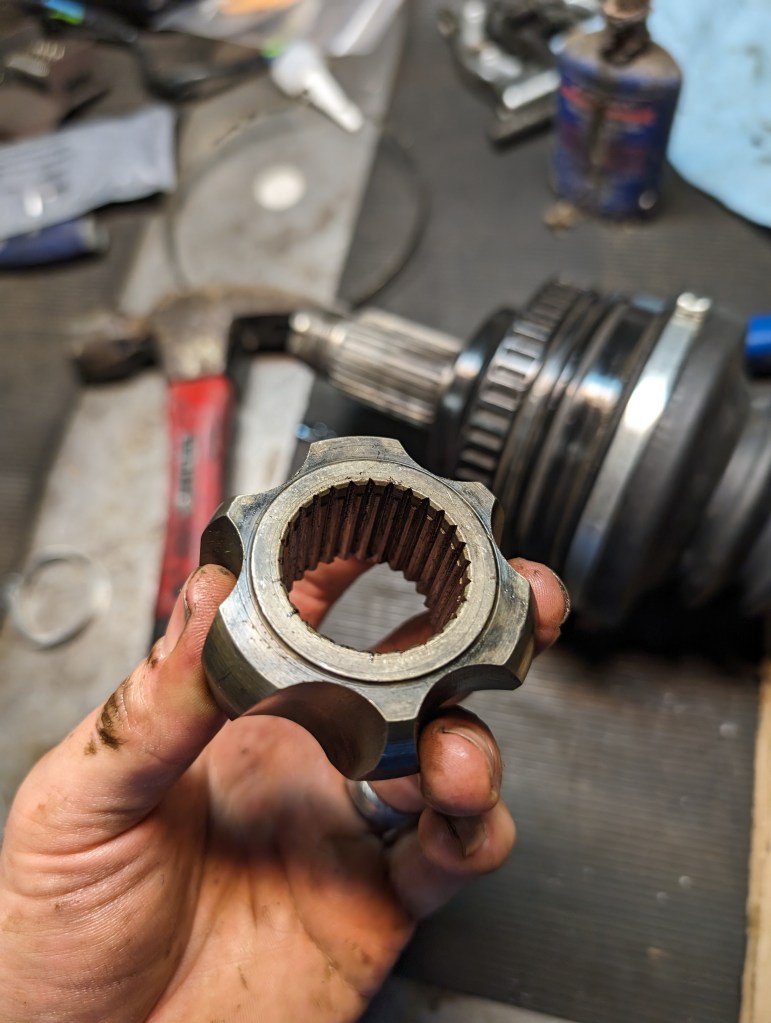


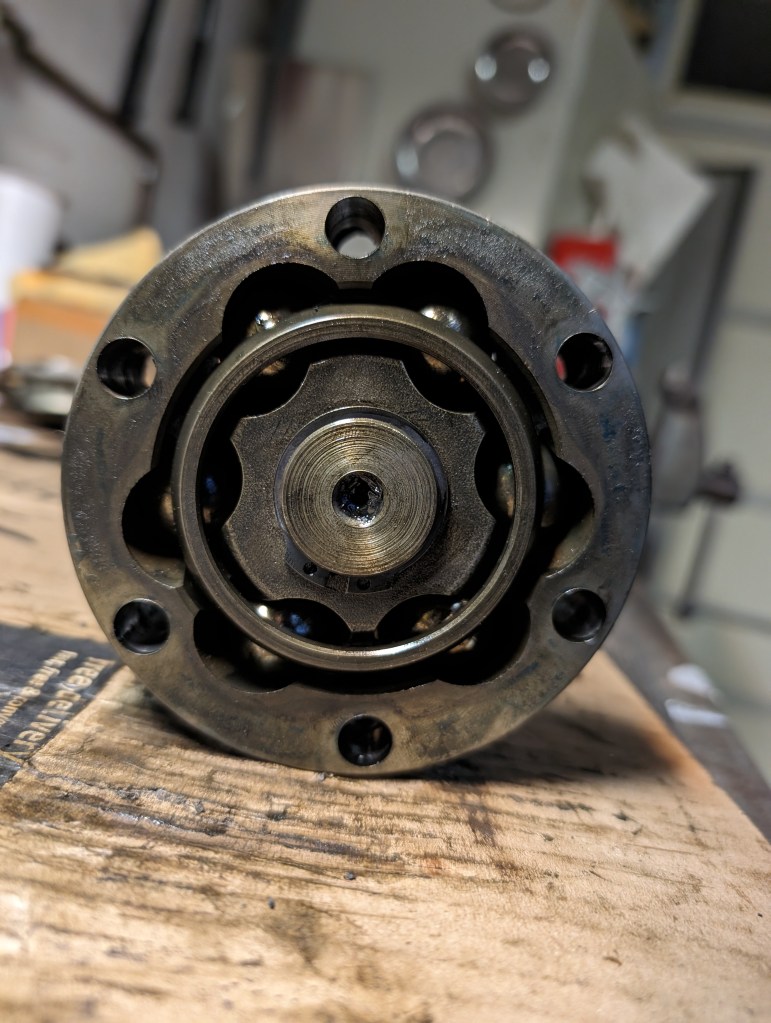
Now it is time I reassembled my CV bearing parts which is a bit of a challenge to align everything and angle the CV outer race enough to slip into place while not enough for the other balls to slide out of place. Ensure when aligning the inner and outer races that the LARGE and SMALL gaps between the ball bearing channels are offset, large outer to small inner and vice versa.
With the bearing reassembled I repacked it with 100 grams of grease during reassembly of the two caps on the outer race OD. Ensuring the air in the bearing is removed as much as reasonable before completely closing and securing the axle Oetiker clamp into position. I seated the two covers onto the OD of the race using the edge of my workbench and the rubber mallet. To align the covers to one another and the holes in the outer race I temporarily dropped in three long bolts to keep everything in alignment.


Leave a comment