I’m kind of a little nuts when it comes to headlights, HIDs, and retrofits. I likely have 3-4 extra pairs of Z3 headlights in various stages of condition and parts in the garage as I write this. A few years back I toyed with the idea of offered pre-assembled HID retrofit headlights for the Z3’s but it was still out of my skill set back then (maybe not soon).
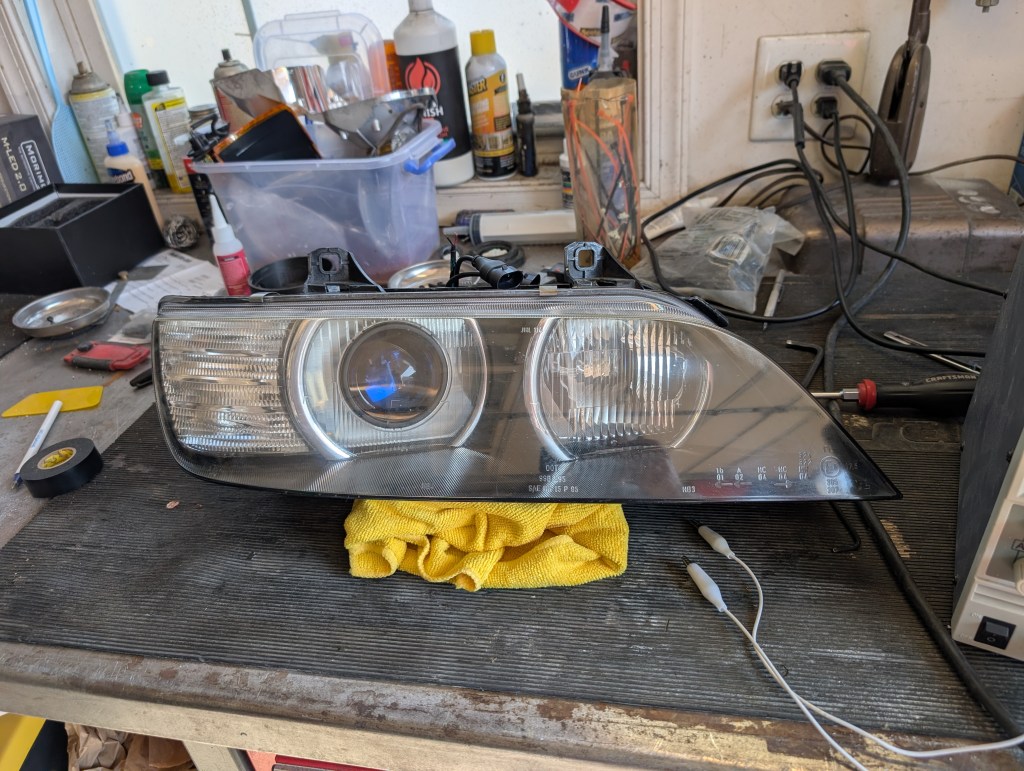
One thing I can say for certain from having hands on the multitude of headlights is that nearly all of them come in with the pivot mount either breaking or broken.


This mount is the base point for the interior headlight bowls to be aimed up/down and left/right. If you’ve been driving at night and it looks like you headlights are bouncing all around over bumps, it’s likely this issue.
If you follow the “moupe54” build on Bimmerforums you may have seen he recently picked up a brand new set of BMW OEM headlights for his complete glass our re-spray. Luckily Nick was willing to share this tiny part with me to reverse engineer to allow something to be made to replace them. It’s honestly the first one I’ve seen complete.

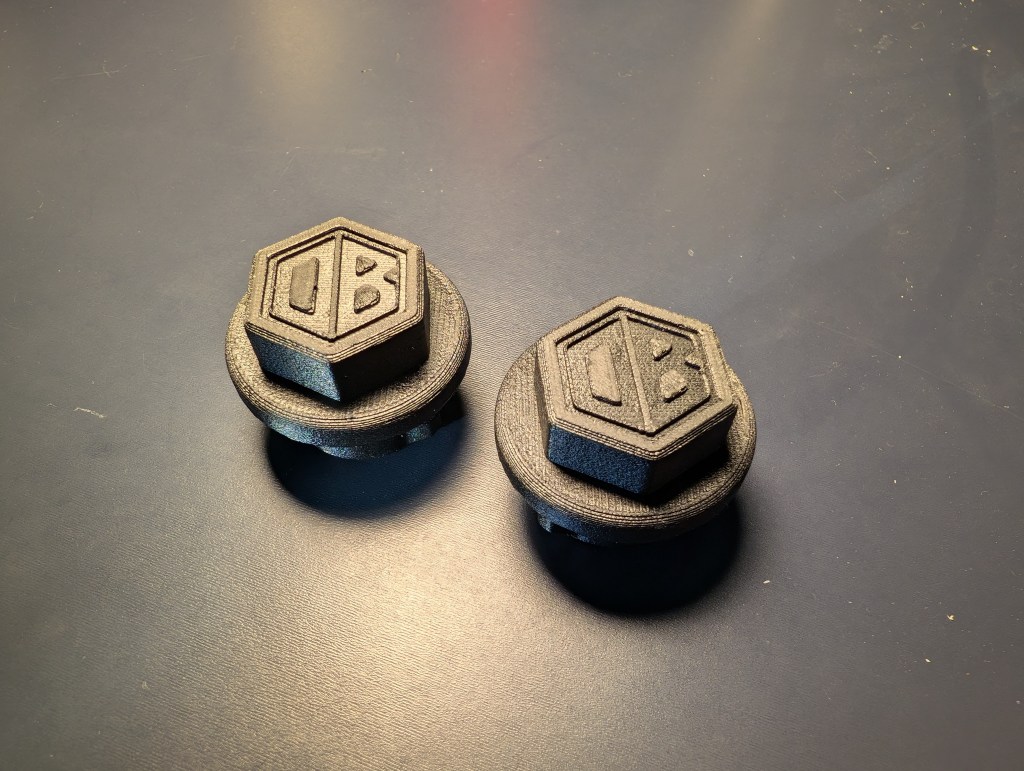
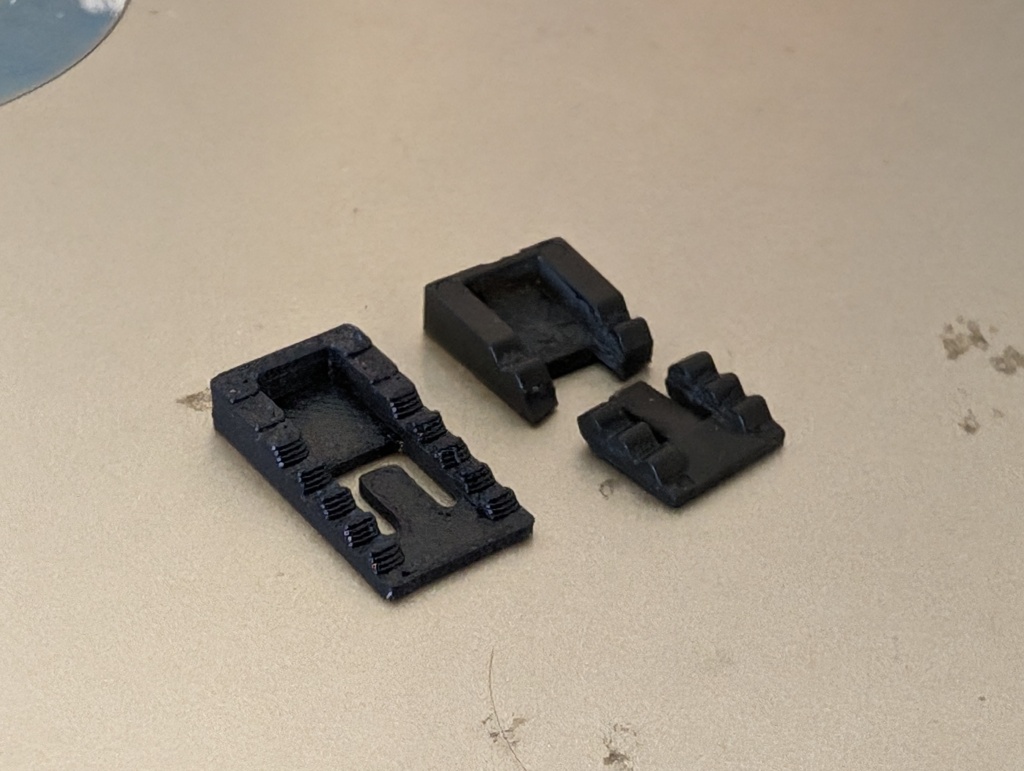
The DBG headlight pivot mount is made from PETG-CF with a micro featured infill for strength. The sealing gasket and headlight stud will be reused from the original parts and reinstalled in the DBG mount to restore the fit to original.


Update as of 3/10/26 a updated (cosmetically) version is now shipping! The mounting features are exactly the same, I just wanted something a little fancier to go with the new retrofit kits with a little smaller profile. They now use a 22mm hex.
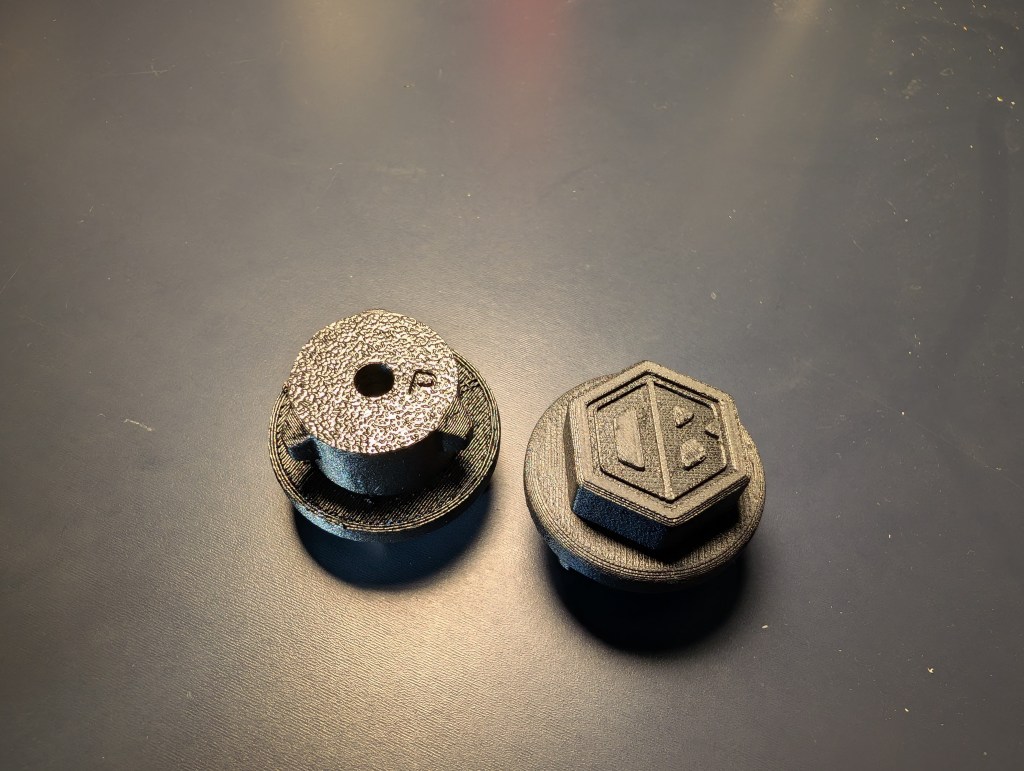
They are side specific, so ensure eye look for the “P” on the passenger side (for our LHD chassis owners)
One DBG headlight pivot mount kit will include:
- One pair of DBG 3D printed mounts
- A single use 2 part epoxy kit with mixer
- A small syringe for application of the epoxy
Pricing is $39 shipped (+tax) USPS in the cont. US.
You can order through PayPal check out by:
Clicking this LINK , or scanning the QR code.

If not contiguous US (international or AK/HI) please use the contact form below.
All of my application has been on a headlight on the workbench, while I believe it is doable to be replaced in the car, it would be significantly more difficult.
Installation would be done using the following:
- Remove the old/broken mount and recover the sealing gasket and pivot pin for reuse
- Using a wire brush, or other suitable tool, remove any old adhesive from the pivot pin.
- Test fit the pivot pin in the DBG mount and verify that the stand off is right about 30mm. A mm or two in either direction wont really matter but need to ensure that there isn’t a gross issue prior to mixing up the epoxy.
- Mix the two part epoxy per the manufacturer’s instructions

- Fill the syringe from the plunger end using the mixing stick with the epoxy mixture, apply a small amount (0.25mL results in the squeeze out shown below) of epoxy to the DBG mount and insert the original pivot pin fully into the mount. Clean any epoxy squeeze out from the mount as desired.


- Once the epoxy has cured per the manufacture’s instructions, install the original gasket in place onto the DBG mount.
- Lightly coat the gasket face with a small amount of isopropanol alcohol as well as on the end of the pivot pin ball. A light coat of general purpose grease is an acceptable substitution.
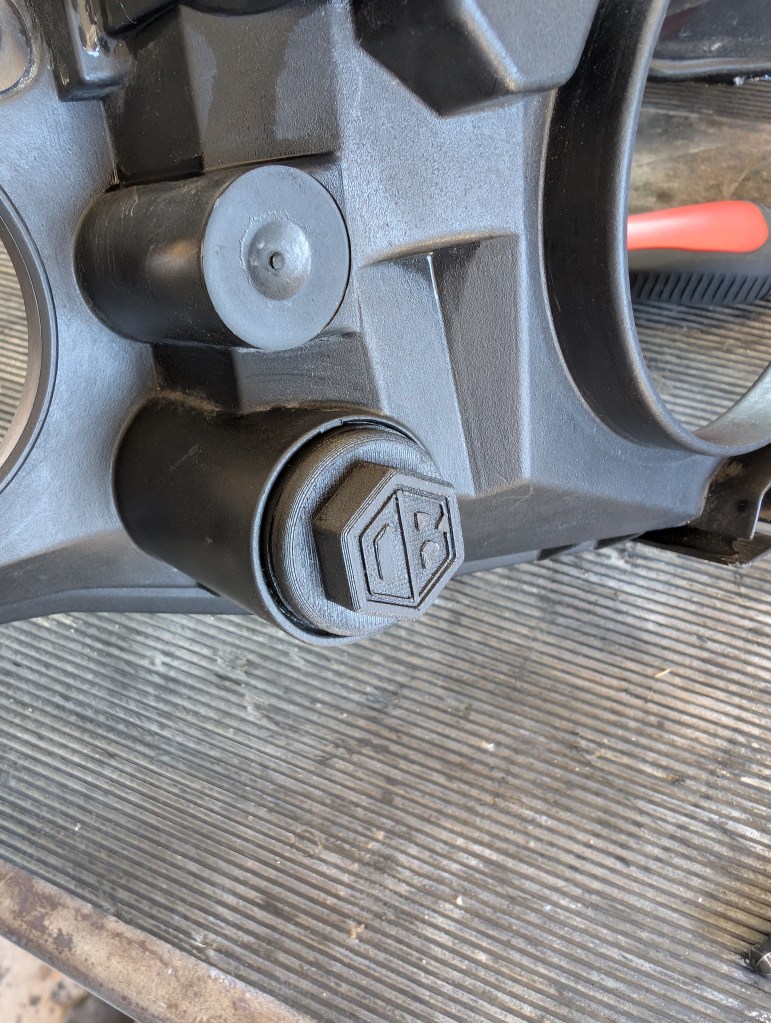
- Insert the mount into the headlight housing and using a 10mm hex socket (ensure the socket fully seats into the mount to avoid deforming the 3D printed part, the fit is intentionally tight) apply light force in the FWD direction while rotating clockwise until the mount locks into place. This motion is approximately 45 degrees rotation.
- Remove the low beam bowl’s dust shield/gasket to allow sight of the pivot pin and socket internally in the housing.

- Using the low beam bulb socket mount position the socket and pivot pin into alignment and gently pull in an upward direction until the ball and socket click into place.


Leave a comment